


Table of Contents
Users With Recordings Already In Glide
Login to Glide Central
Login to Glide Central using your credentials.
Access Site Management Page
You will arrive at the Site management page, Click the Site name link.

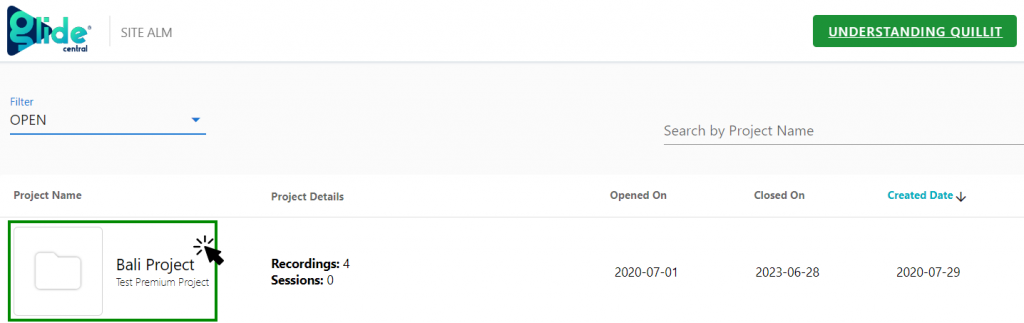
Access Project Page
After clicking on a Site, you will see the Project Page, Click on the Project Name.
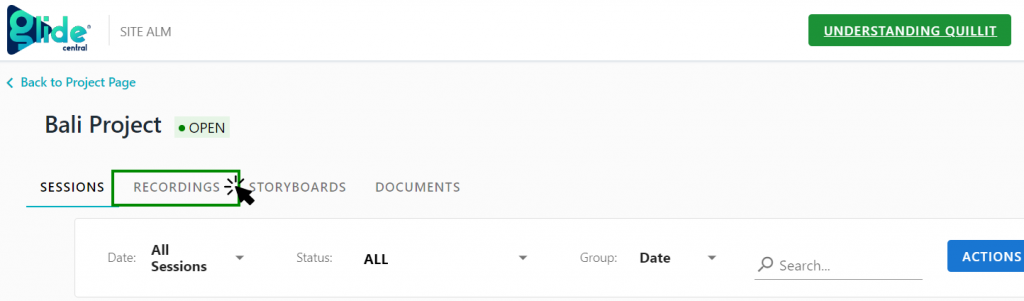
Access Recordings Tab
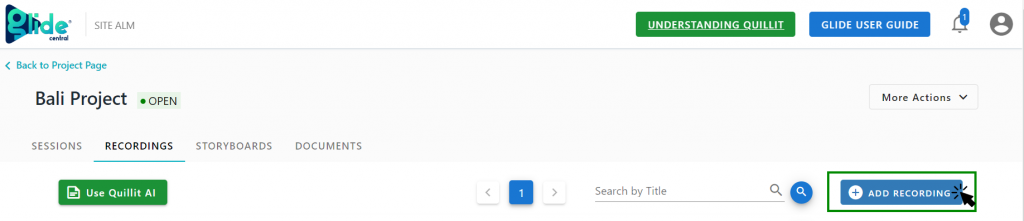
On the Project Page, Click on the Recordings tab.
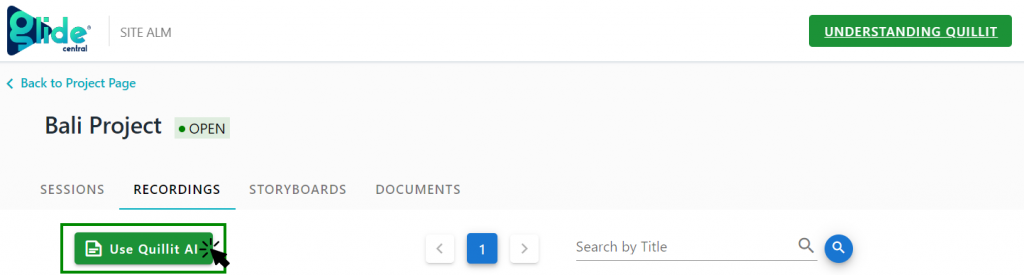
Access Quillit ai
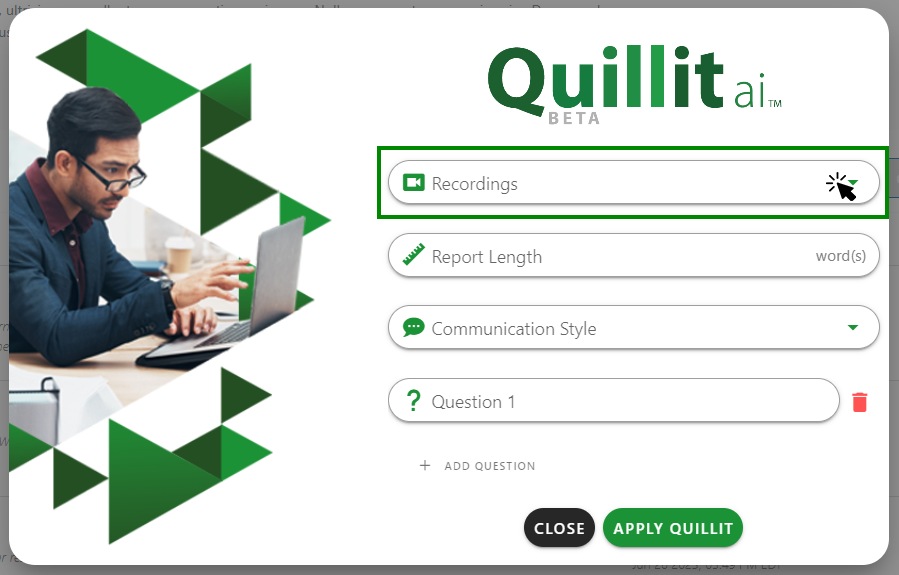
- From there you will see the Use Quillit ai button, Click on it
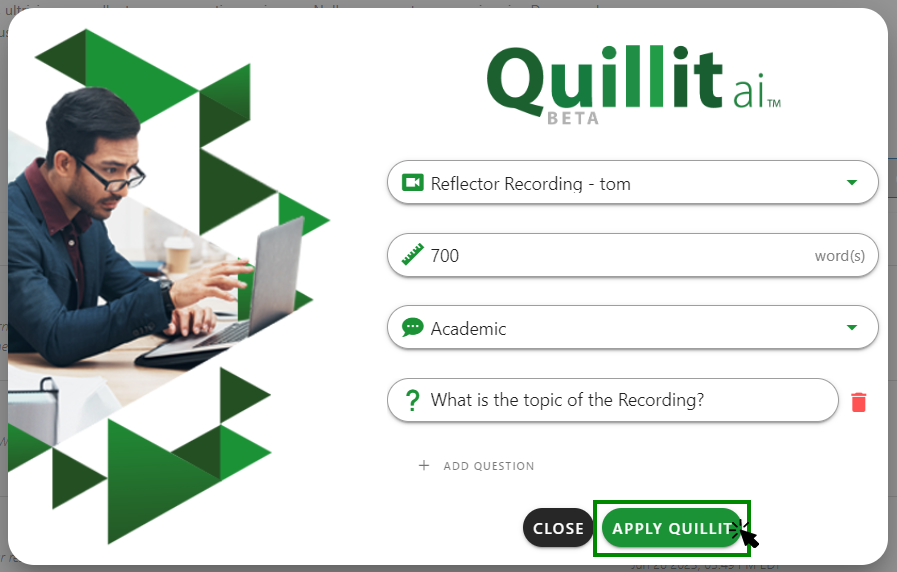
- The Quillit ai pop up will be displayed. Select the Recording(s) you want Quillit ai to use to generate a Qual Report
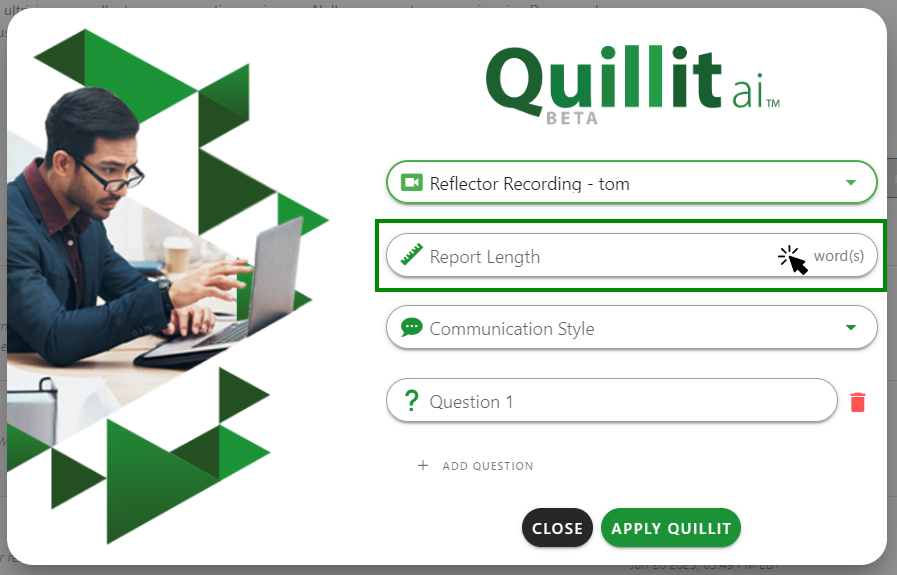
- Enter the desired Report Length (Word count)
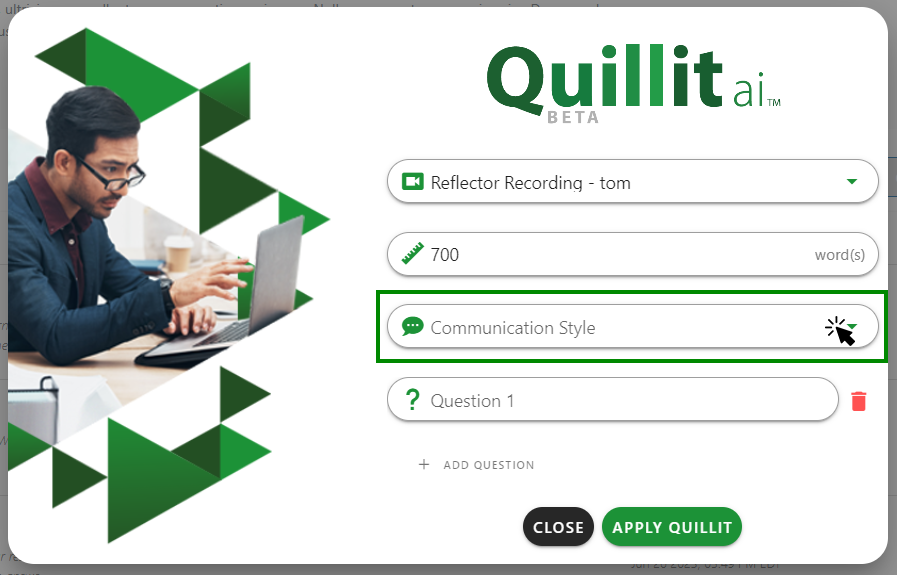
- Select the Communication Style
- Selecting “Academic” as the communication style will result in a more complex language and sentence structured Qual report; while “Easy-to-Understand” will use common language and terms as well as a less complicated sentence structured Qual Report
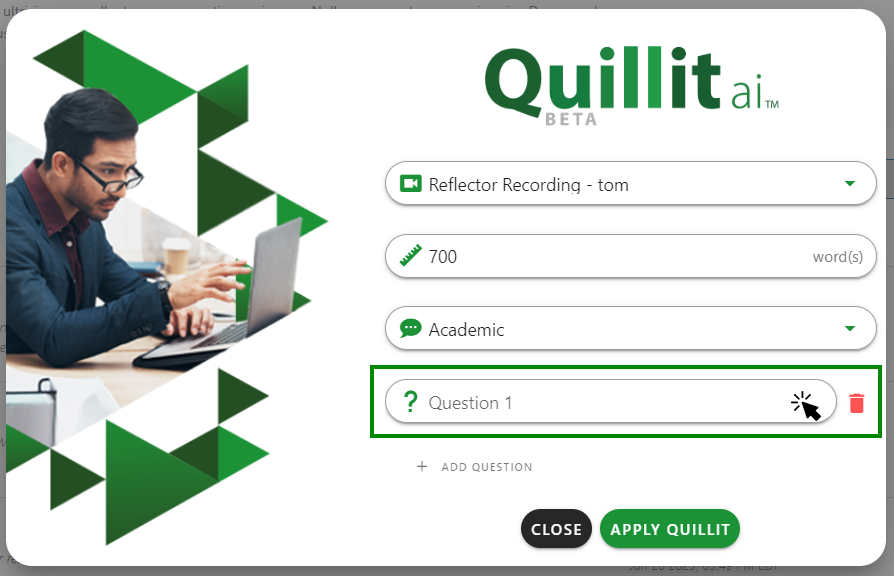
- On the Question(s) section, enter the question(s) you want to the Qual Report to answer.
- You can add as many questions as you like by clicking “+ ADD QUESTION”.
- You can simply click on the Delete Icon (Trash Bin icon) to remove the question entered
- Now click on the “Apply Quillit” button. You will then see a pop up that your request has been submitted.
When the request has been completed, your Quillit-generated report will be sent to your email address.
Users That Need To Upload Recordings Not Already In Glide
Login to Glide Central
Login to Glide Central using your credentials.
Access Site Management Page
You will arrive at the Site management page, Click the Site name link.
Access Project Page
After clicking on a Site, you will see the Project Page, Click on the Project Name.
Access Recordings Tab
On the Project Page, Click on the Recordings tab.
Upload Media File(s)
- Click the Add Recording button to upload media
- On the Upload Media pop up, Add the recording by clicking the Add File button or Drag and Drop file(s) in the box

- Once added, click the Start Upload button and wait for the file(s) to finish uploading

- Once the recording is uploaded successfully, Close the pop-up by clicking the Close button

Access Quillit ai
- To start using Quillit, Click the Use Quillit ai button
- The Quillit ai pop up will be displayed. Select the Recording/Recordings you want Quillit ai to use to generate a Qual Report
- Enter the desired Report Length (Word count)
- Select the Communication Style
- Selecting “Academic” as the communication style will result in a more complex language and sentence structured Qual report; while “Easy-to-Understand” will use common language and terms as well as a less complicated sentence structured Qual Report
- On the Question(s) section, enter the question(s) you want to the Qual Report to answer
- You can add as many questions as you like by clicking “+ ADD QUESTION”
- You can simply click on the Delete Icon (Trash Bin icon) to remove the question entered
- Now click on the “ Apply Quillit” button. You will then see a pop up that your request has been submitted
When the request has been completed, your Quillit-generated report will be sent to your email address.